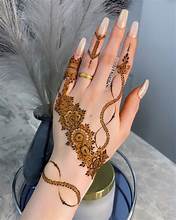
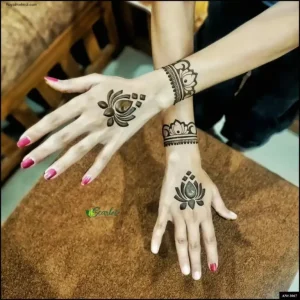
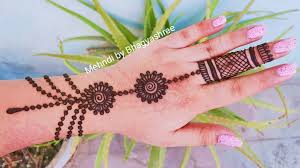
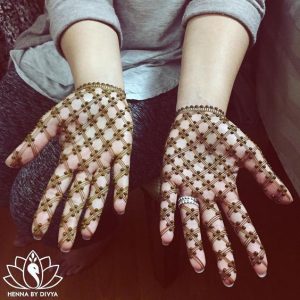
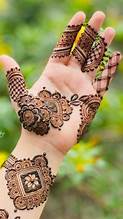
simple mehndi
Here’s a simple mehndi (henna) design that works well for beginners or anyone looking for a quick and elegant look:
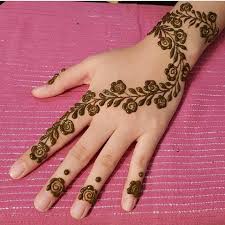
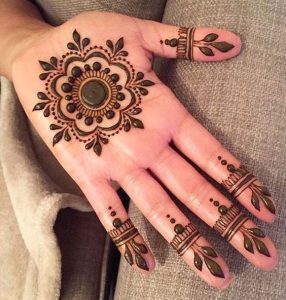
1.Basic Floral Wrist Design
Start by making a small dot or flower on the inside of your wrist.
Draw two curved lines around your wrist, like a bracelet.
Add small leaves or petals along the lines.
Draw a thin vine with small dots or hearts leading toward your fingers.
2.Minimalist Finger Mehndi
Draw a thin line from your wrist to the tip of a finger.
Add small dots or stars along the line.
For the ring finger, add a tiny flower or spiral near the base.
3.Easy Backhand Mehndi Design
Make a half-moon shape near your knuckles.
Fill it with simple stripes or small dots.
Add small vines or swirls connecting to your wrist.
Tips for Beginners:
✔ Use a cone with a fine tip for better control.
✔ Try drawing on paper first to practice your lines.
✔ Keep the design thin and open for a clean look.
Here’s a step-by-step breakdown of the Basic Floral Wrist Design with simple elements that are easy to draw:
Step 1: The Wrist Base
Draw a thin line around your wrist, like a bangle.
Add another line above or below it to create the appearance of two bands.
Step 2: Central Flower
On the inner side of your wrist, draw a small 5-petal flower:
Draw a small circle in the center.
Add curved shapes around it for the petals.
Step 3: Vines & Leaves
From the flower, draw two curved lines going toward your palm, like a “C” shape.
Add simple leaves along the lines:
Draw a slight curve with a pointed tip.
Repeat on the other side for a balanced look.
Step 4: Tiny Details
Add small dots between the leaves or along the bracelet lines.
Optionally, draw a thin line with dots leading toward your middle finger for a subtle finger accent.
Visual Tips:
✨ Keep it light: Don’t crowd the design—leave some space.
✨ Symmetry: Mirror the vines on both sides of the flower for balance.
✨ Erase-friendly: If using a pencil stencil, henna will cover the guideline.
Would you like a rough sketch description or a Mehndi design focused on a different area, like the fingertips?
2. Minimalist Finger Mehndi

Here’s a simple finger mehndi design that’s delicate, easy to do, and perfect for beginners or when you want a quick touch-up:
1.Single Finger Accent (e.g., Ring or Middle Finger)
Step 1: Baseline
Draw a thin, straight line from the base of your finger (near the wrist) to the tip, following the bone.
Pro tip: Use the side of your finger as a guide to draw a straight line.
Step 2: Tiny Details
Add 3–5 small dots along the line, like stars in the sky.
At the fingertip, draw a small spiral or half-moon to finish the design.
Step 3: Optional Ring Accent
At the base of the finger (where a ring would go), draw a thin band with 2–3 dots or dashes on top.
2.Multiple Fingers (Subtle Unity)
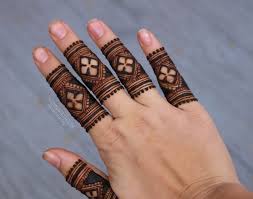
Step 1:
Repeat the thin line on 2–3 fingers, not all, to keep it simple.
Step 2: Vary the accents:
– Index finger: Draw a small “Z” shape near the top.
– Pinky: Add just one dot at the base.
3.Side Finger Vines (For a Slightly Fuller Look)
From the wrist, draw a wavy line up the side of one finger, stopping at the first knuckle.
Add small leaves (simple curves) or dots along the vine to add some detail.
Why This Works:
✔ Fast to do — takes 2–5 minutes per hand.
✔ Looks elegant — it feels intentional, not rushed.
✔ Easy to fix any smudges with a cotton swab.
Visual Reference Idea:
Think of a single flower stem with a few dewdrops (dots) on it — simple but meaningful!
Want to add a small symbol, like a heart or star, at the fingertip?
Or focus on another area, like the thumb?
3.Easy Backhand Design
Here’s a simple and elegant Mehndi design for the back of your hand, focusing on the knuckles with minimal details for a graceful look:
Step-by-Step Easy Backhand Mehndi
1.Knuckle Emphasis (Mandala-Inspired)
Step 1: Draw small circles or half-moons just above each knuckle (4 total).
Step 2: Fill each circle with:
– A tiny dot in the center and 4 lines radiating out (like a sun).
– Or 3–4 curved lines (like petals).
2.Connecting Vines
Step 1: From the wrist, draw two curved lines, one like a “)” and the other like a “(“, reaching toward the knuckle circles.
Step 2: Add small leaves (simple curves) or dots along the vines.
3. Wrist Accent Option A: A slim bracelet with 3 to 5 small crosses (✛) or stars (★).
Option B: A light chain made of a zigzag line with dots between each peak.
Mehndi Design Variations

For Asymmetry,add decorations to just two knuckles, like a ring and the middle finger, and leave the rest uncovered.
Modern Twist: Use small hearts or stars instead of circles above the knuckles.

Pro Tips Less is more: Keep the lines thin and spread out so they don’t look messy.
Fix mistakes: Dip a toothpick in lemon juice to remove smudges.
Dry faster: Put a mix of sugar and lemon over dried henna to make the stain darker.
Visual Inspiration
Picture a “crown” of tiny suns on your knuckles, linked by very thin vines—subtle but noticeable.
Want to include a palm accent, like a moon shape near the thumb?
Or stick to just the back of the hand?
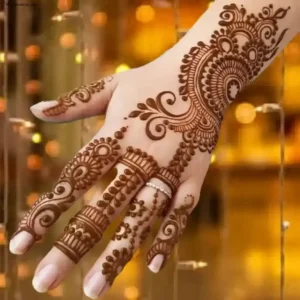
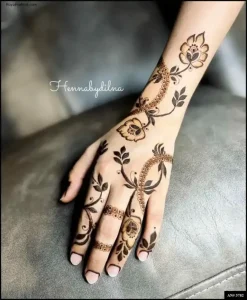
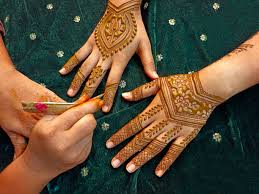
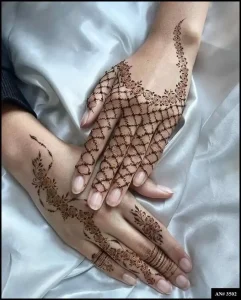
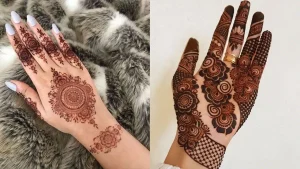
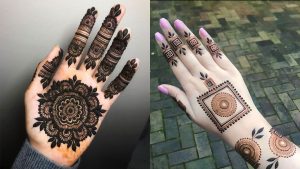
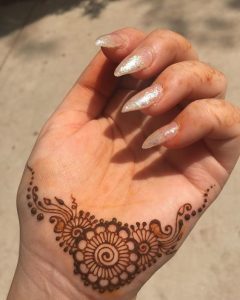
Simple Mehndi Design
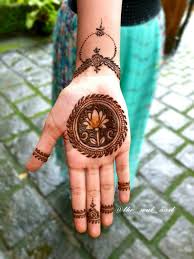
Beautiful Mehndi Design
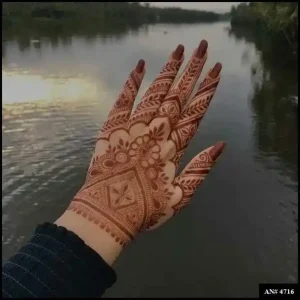
Mehndi Design
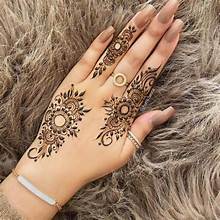
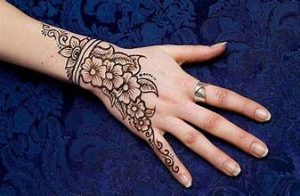
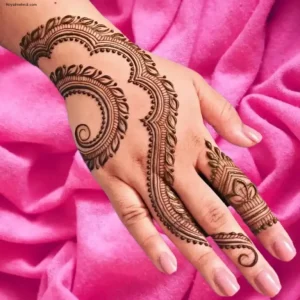
Front hand mehndi
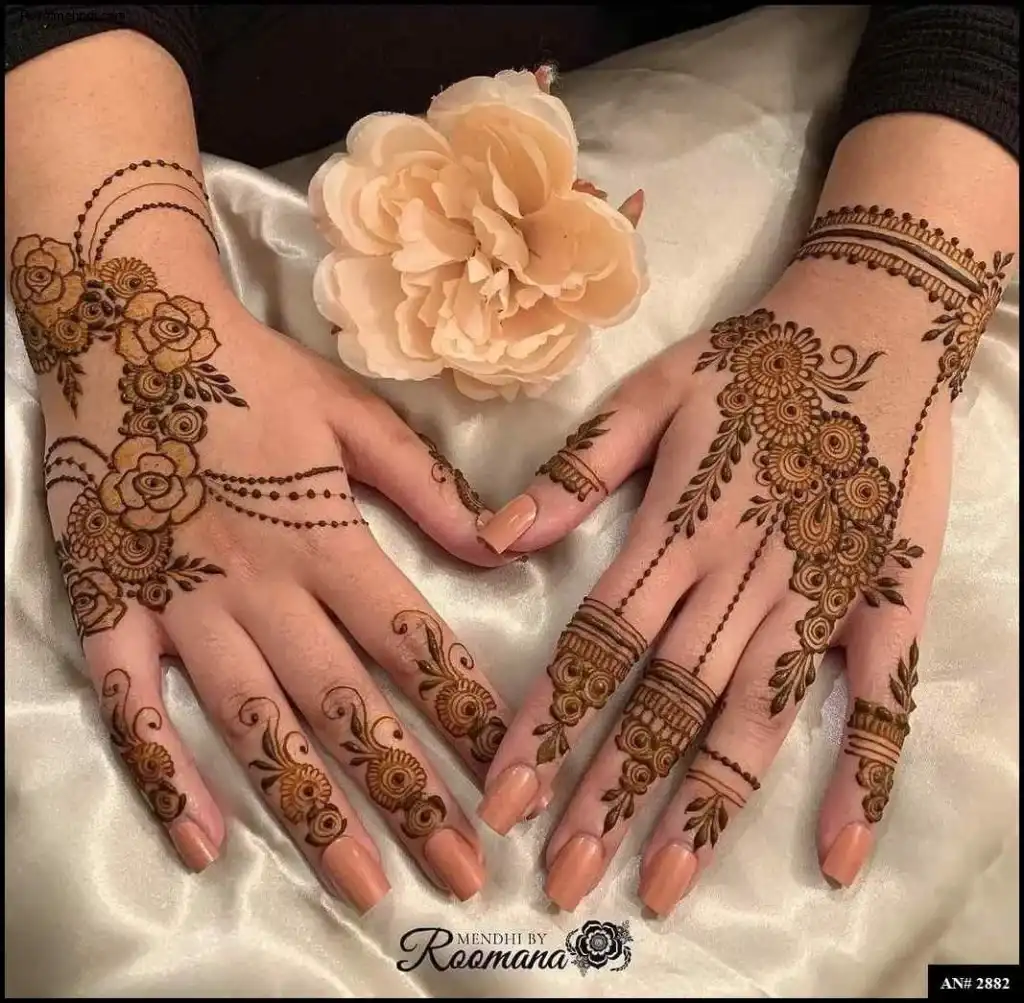
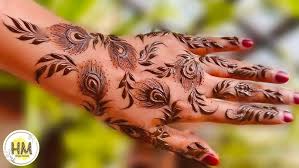
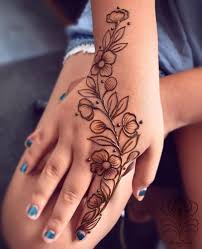
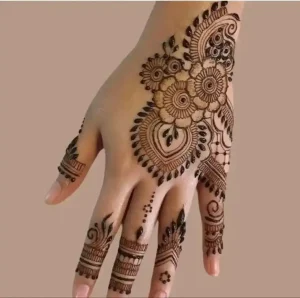
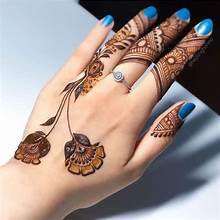
Floral Mehndi Design
Bell and Chain Easy Mehndi Design
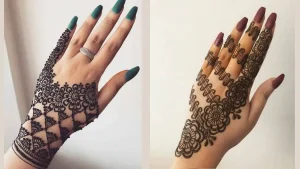
Arabic Design
Bengali Mehndi Design
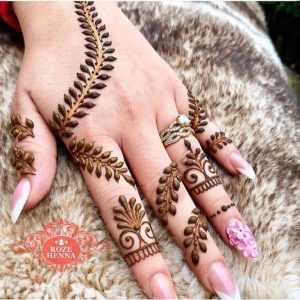
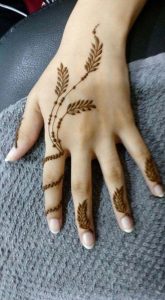
Leaf Mehndi Design
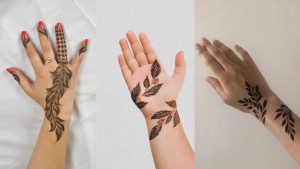
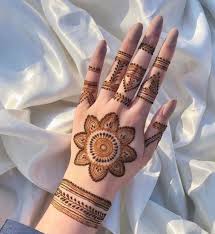
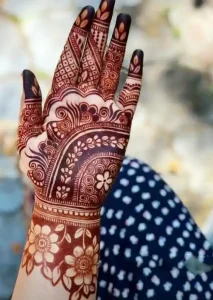
simple front hand
Dotted henna Designs Easy and beautiful
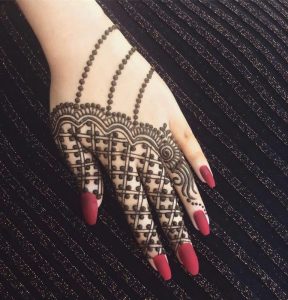
Jaal inspired henna designs
Easy Mehndi designs
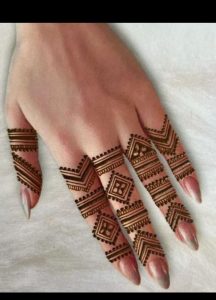
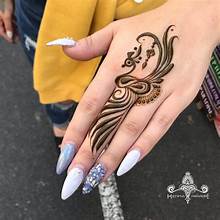
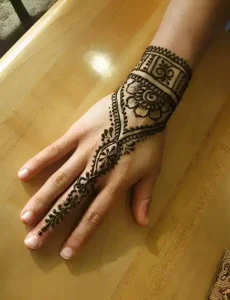
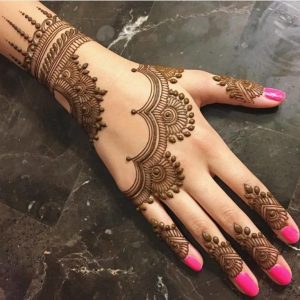
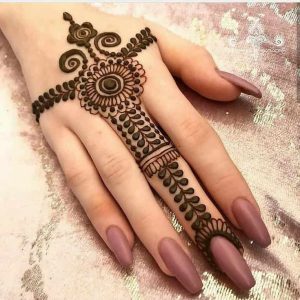
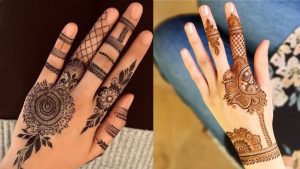
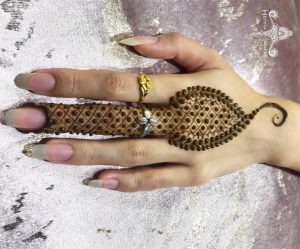
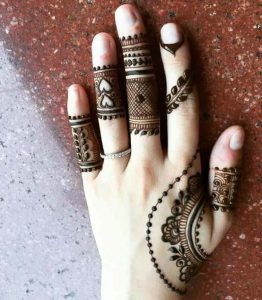
Finger mehndi
New Simple Mehndi Design
Mehndi designs
Stylish Mehndi Design